
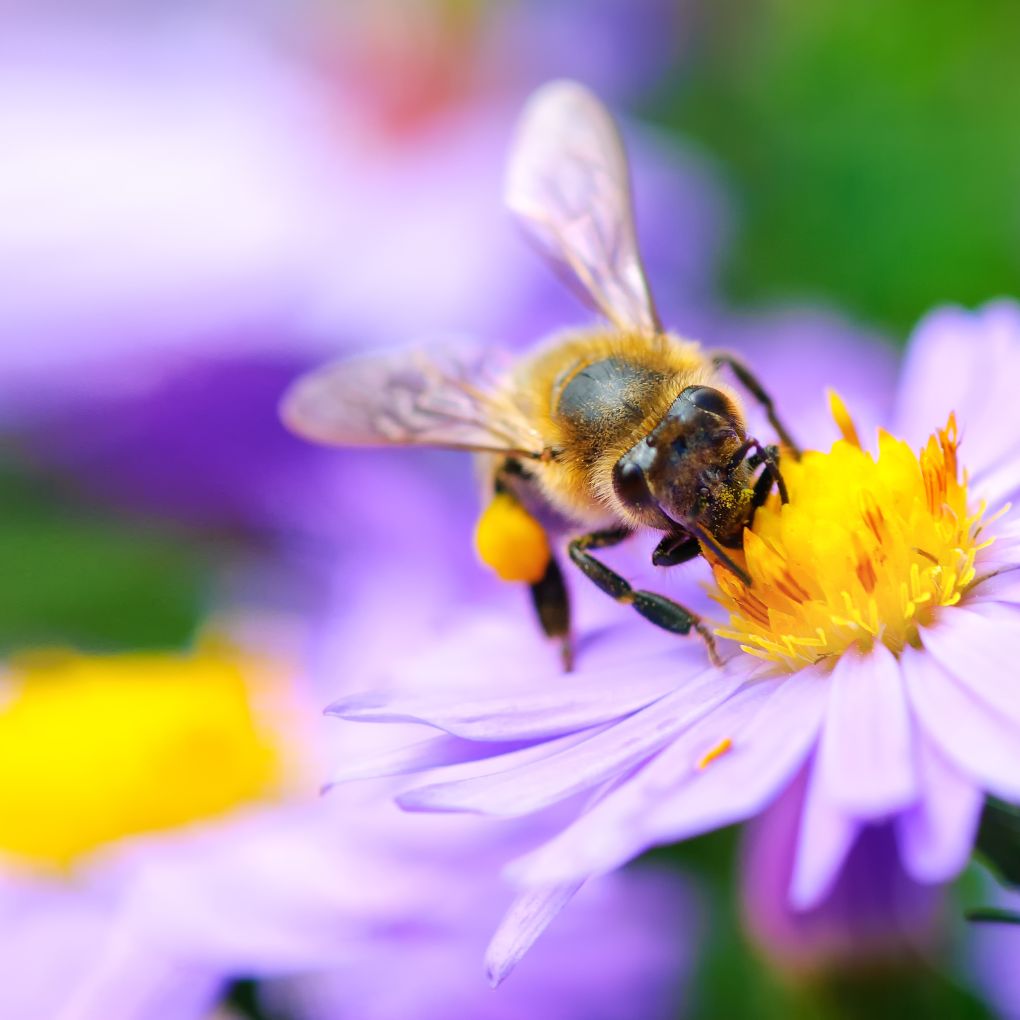
Pollinators are essential to our environment and food systems, but unfortunately many are struggling to thrive in our cities and towns. Want to help them out? Learn how to build a pollinator garden right in your backyard.
A pollinator garden provides a habitat for butterflies, bees, and other insects by grouping together their favorite foods. Pollinator gardens are a great way to help out the environment. They’re also beautiful to look at and will fill your yard with fluttering butterflies and buzzing bumblebees!
How to Build a Pollinator Garden: 4 Simple Steps
Whether you’re an expert or a beginner, with acres of land or just a small backyard patio, you can start building a pollinator garden and helping out the environment today.
Step 1: Choose a spot
Before you start buying seeds and plants, you need to choose the perfect spot for your garden. The Natural Resources Conservation Service suggests dedicating half an acre to two acres for a pollinator garden, but that definitely won’t be possible for most of us.
Don’t worry, though! You can still make a difference with a smaller space.
Whatever size space you have, remember this rule: Don’t spread your garden out all over the yard—insects don’t want to fly long distances to find nectar, since that uses up too much energy. Keep your pollinator garden in a big clump!
Where should you place your pollinator garden? Butterflies and bees love sunshine, so look for a spot that receives partial or full sun. It’s best if your spot has some protection from strong winds since wind can make it difficult for pollinators to navigate through the garden. If possible, choose a spot near pollinator nesting areas, like bare soil or dry stone walls. Many pollinators don’t travel far from home to find food.
No yard at all? You can plant your pollinator garden in containers on your patio or deck if you prefer. (This gives you more flexibility in your garden design, too.) Just make sure you can put several plants of the same species together.
Step 2: Choose your plants
When choosing plants for your pollinator garden, look for native plants. They require less maintenance and are better adapted to the local ecosystem. Look for a nursery near you that specializes in native plants—they can provide expert guidance and help you find the perfect blooms for your garden.
It’s important to make sure that the plants you buy haven’t been treated with pesticides (including neonicotinoids) since these can harm pollinators. You’ll also need to consider the soil type in your area. If you’re not sure how to assess your soil, your local nursery can guide you.
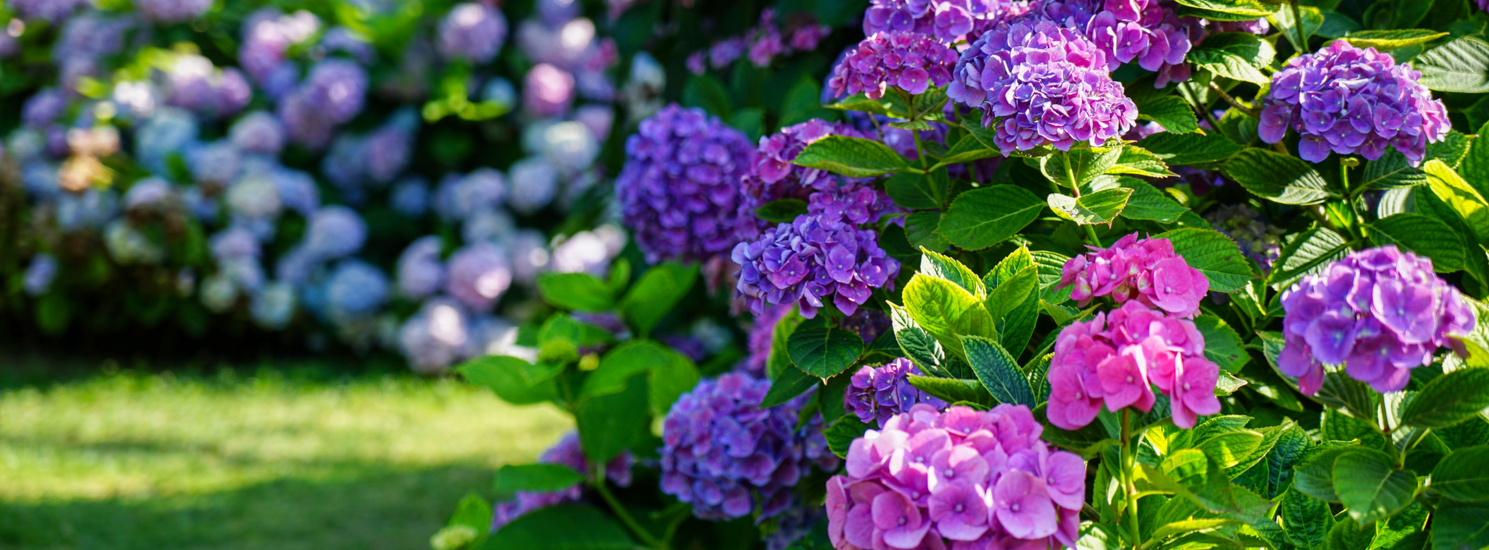
When it comes to flower colors, think vibrant and diverse! Butterflies and bees are particularly drawn to bright colors like orange, red, yellow, pink, and purple. And don’t forget that bees see light wavelengths differently than we do, so flowers that look plain white to us might look dazzling to a bee.
As much fun as it may seem to buy lots of different plants, don’t go too overboard with plant diversity, especially if you have a small space. Try to stick to a few species, and plan to group them together for the most benefit. Here’s why:
- Visibility: Clusters of similar plants are easier for pollinators to spot. Imagine you’re a bee buzzing around looking for a quick snack. It’s much easier to head towards a big, colorful patch of the same flowers than to zigzag around looking for single plants.
- Efficiency: Once a pollinator has found a type of flower it likes, it’s efficient for it to stay there and gather nectar or pollen from multiple flowers of the same type. This also increases the chances of successful cross-pollination, as the pollinator will carry pollen between flowers of the same species.
- Catering to Preferences: Different pollinators are attracted to different types of flowers. By grouping similar plants together, you’re creating a buffet of sorts, where each pollinator can find and feast on their favorite flowers.
If you have a space larger than a patio or balcony, you may want to choose perennial plants over annuals. Perennials return year after year, whereas you’ll need to purchase and replant annuals every spring.
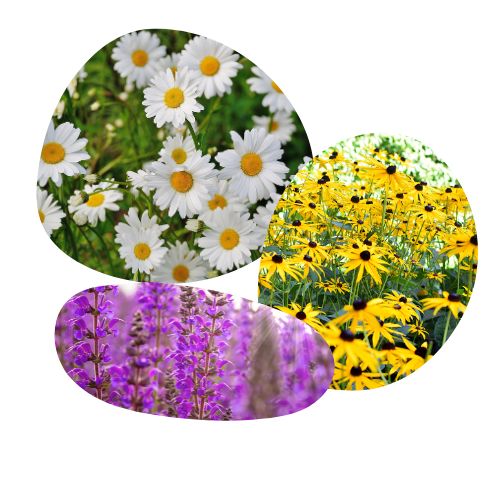
Some popular perennial pollinator choices are black-eyed susans (rudbeckia), butterfly bushes (buddleia), and coneflowers (echinacea). If you know exactly what you want, Burpee Gardening and Garden Goods Direct offer discounts on many seeds and plants to ID.me members.
Pro Tip: Check with your local nursery about plants that do well in your area. If your space is limited, be sure to ask how much the plants you’re interested in will spread. Under certain conditions, some common plants (such as butterfly bushes) are considered invasive because they spread aggressively and consume a lot of garden space whether you want them to or not!
Step 3: Lay out your pollinator garden
Now that you’ve chosen the perfect plants for your pollinator garden, it’s time to arrange them.
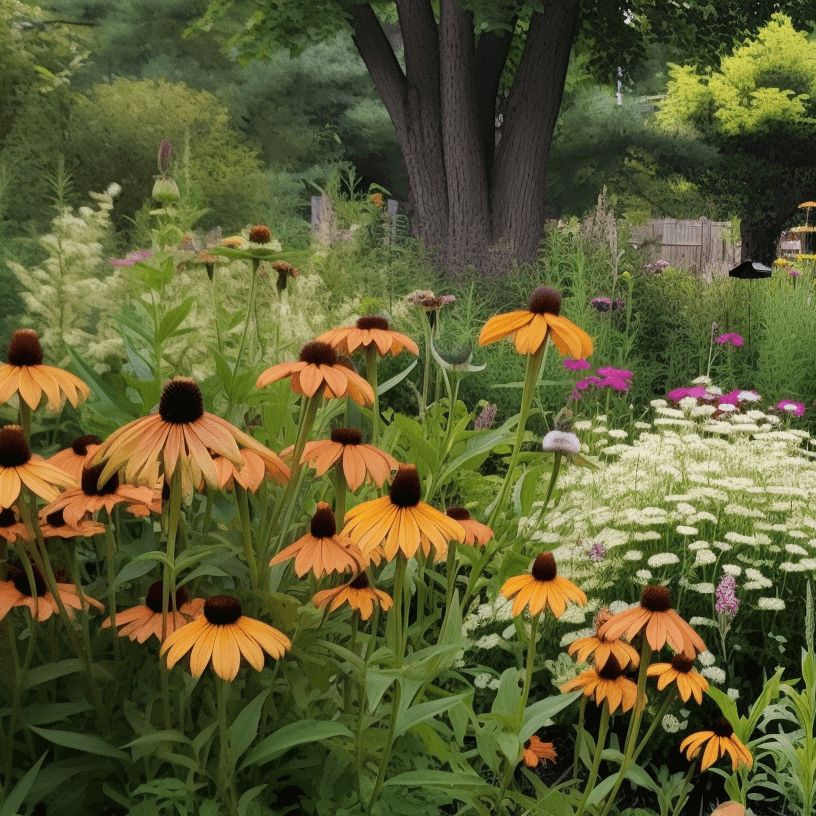
When planning your layout, group plants together in clusters, with 3-5 types of plants in each group. Arranging plants in odd-numbered clusters look pretty to us and also allows insects to navigate through the garden more easily, collecting food from different sources.
Mix together flowers of different heights, so shorter plants support flimsier tall ones. Choose plants that bloom at different times of the year, too, so that nectar is available from early spring until the first frost.
If space allows, aim to incorporate at least eight different species in your garden, since diversity attracts pollinators. But remember to include several plants of each species. For each individual species, create a cluster at least three feet across. A big group of the same type of flower is easier for pollinators to spot in the landscape and ensures an ample supply of each type of pollen.
If you’re planting in containers, make sure that every plant you include in a container has similar water needs. As a rule, water your containers daily if they haven’t received rainwater. Plants that need extra moisture may need to be watered twice daily.
Pro Tip: Water your plants (both in containers and in the ground) in the early morning, and try to water at the soil level rather than overhead, drenching the flowers and foliage. This helps to prevent fungus and other moisture-related plant diseases.
While meeting the needs of pollinators, don’t forget your own needs as well. Do you want a path through the garden so you can wander among the butterflies? Or maybe a comfy bench to sit on and listen to the buzzing bees? Make your garden inviting for both pollinators and humans.
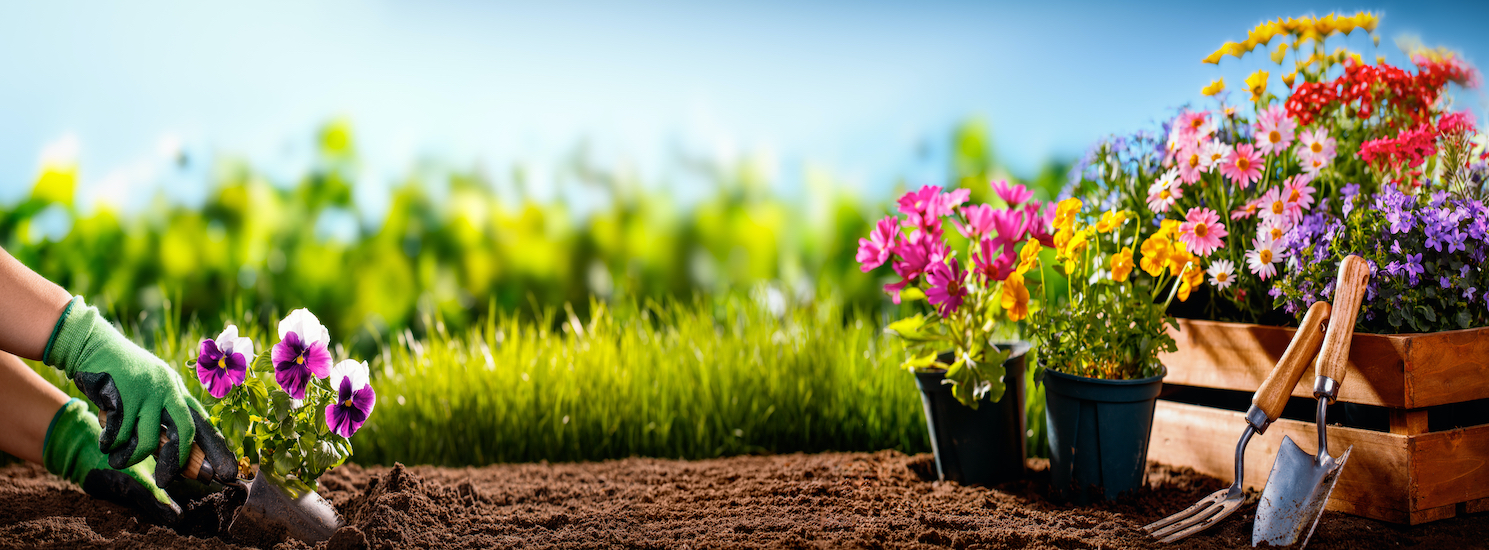
Step 4: Plant your garden
Now it’s time to plant! The first question to consider is whether to grow from seed or to buy plants. Buying plants gives you flowers faster, but it’s much more expensive. Seeds are budget-friendly, but you’ll have to plan ahead and sow your seeds in the fall or in late winter when the snow starts melting. Choose whatever works best for you.
Next, prepare your area. Remove any grass, loosen the soil, and add compost. If you’re using raised beds or containers, get good soil to fill them. Then plant your plants or seeds according to the instructions that came with them.
Now you just have to water, weed, and watch your garden grow. Depending on the plants you chose, you may get flowers this year or it may take a few years before your garden blooms. Either way, you’ll soon be providing a beautiful habitat for essential pollinators. Soak in the colors and pat yourself on the back!